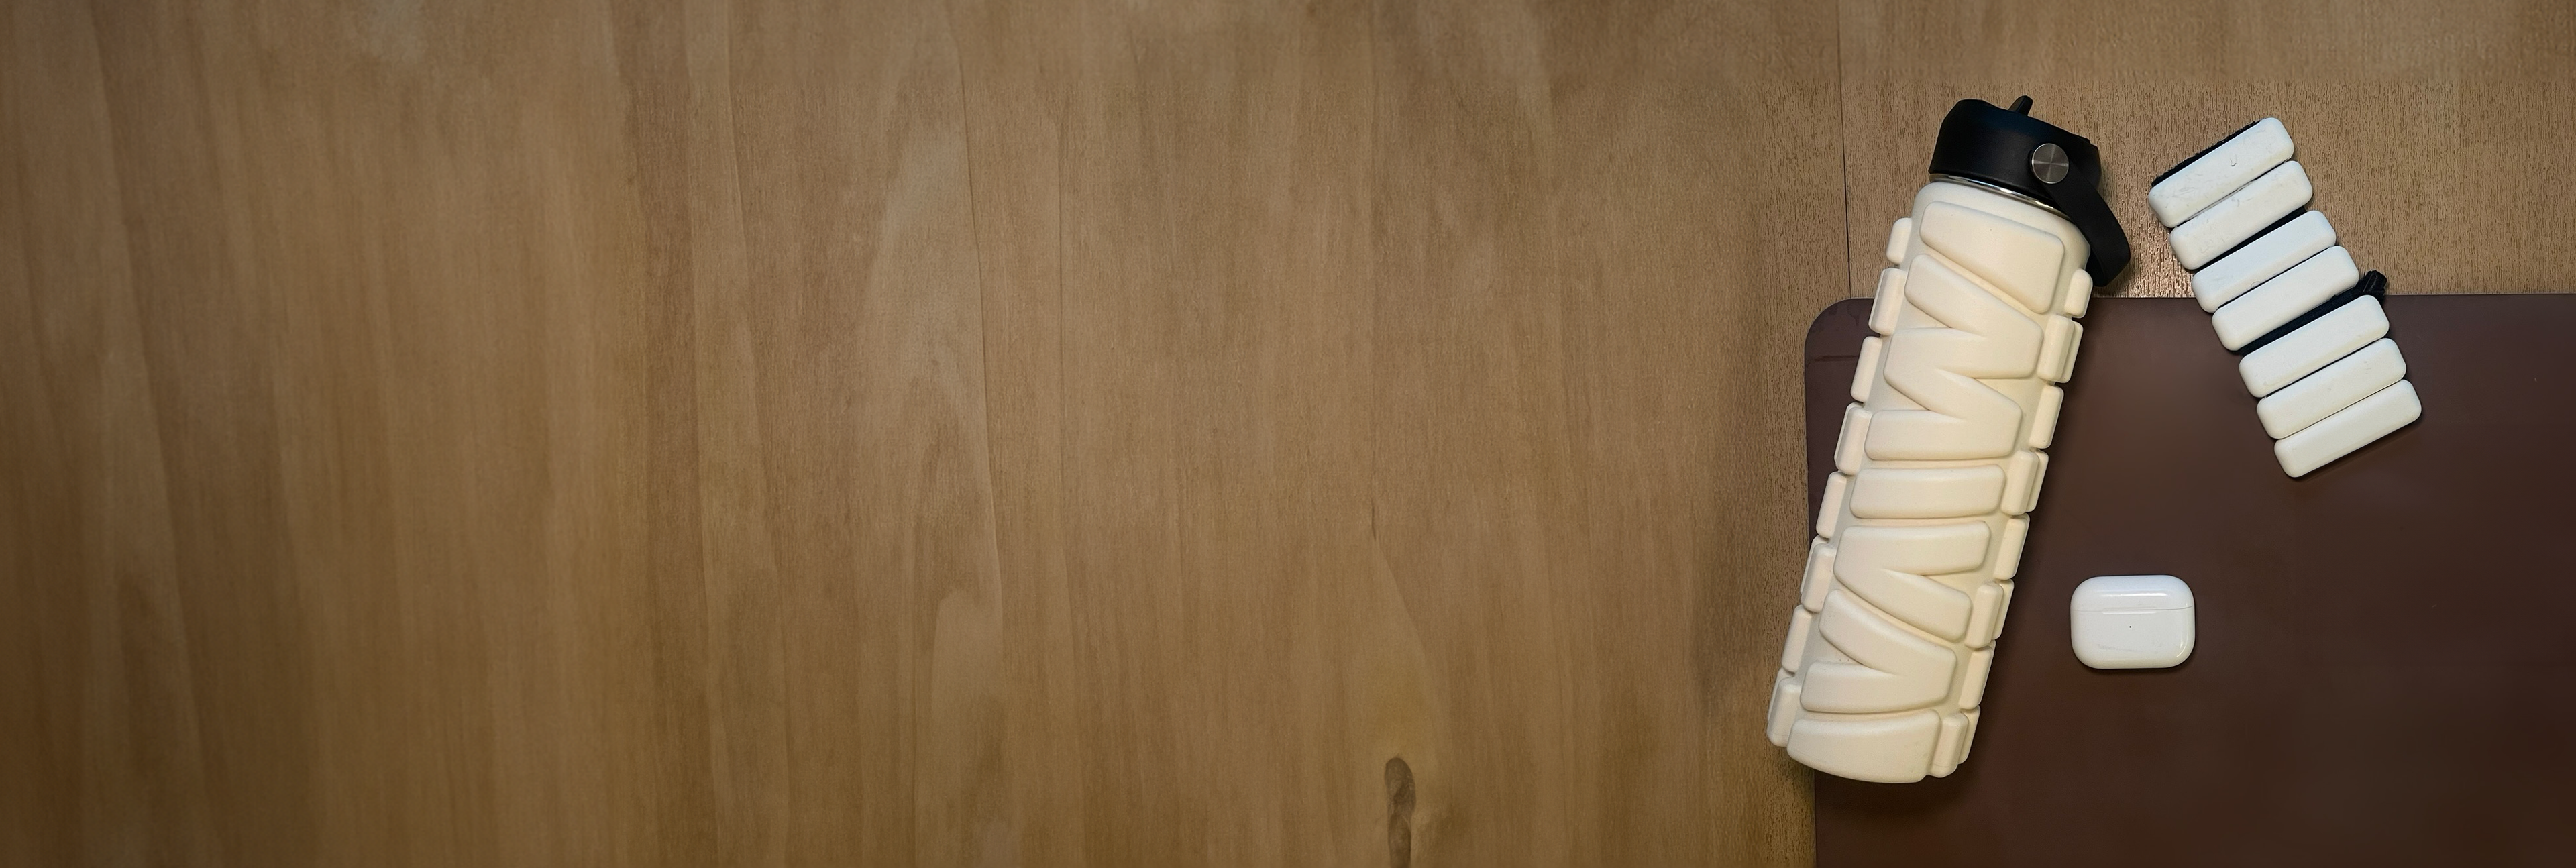
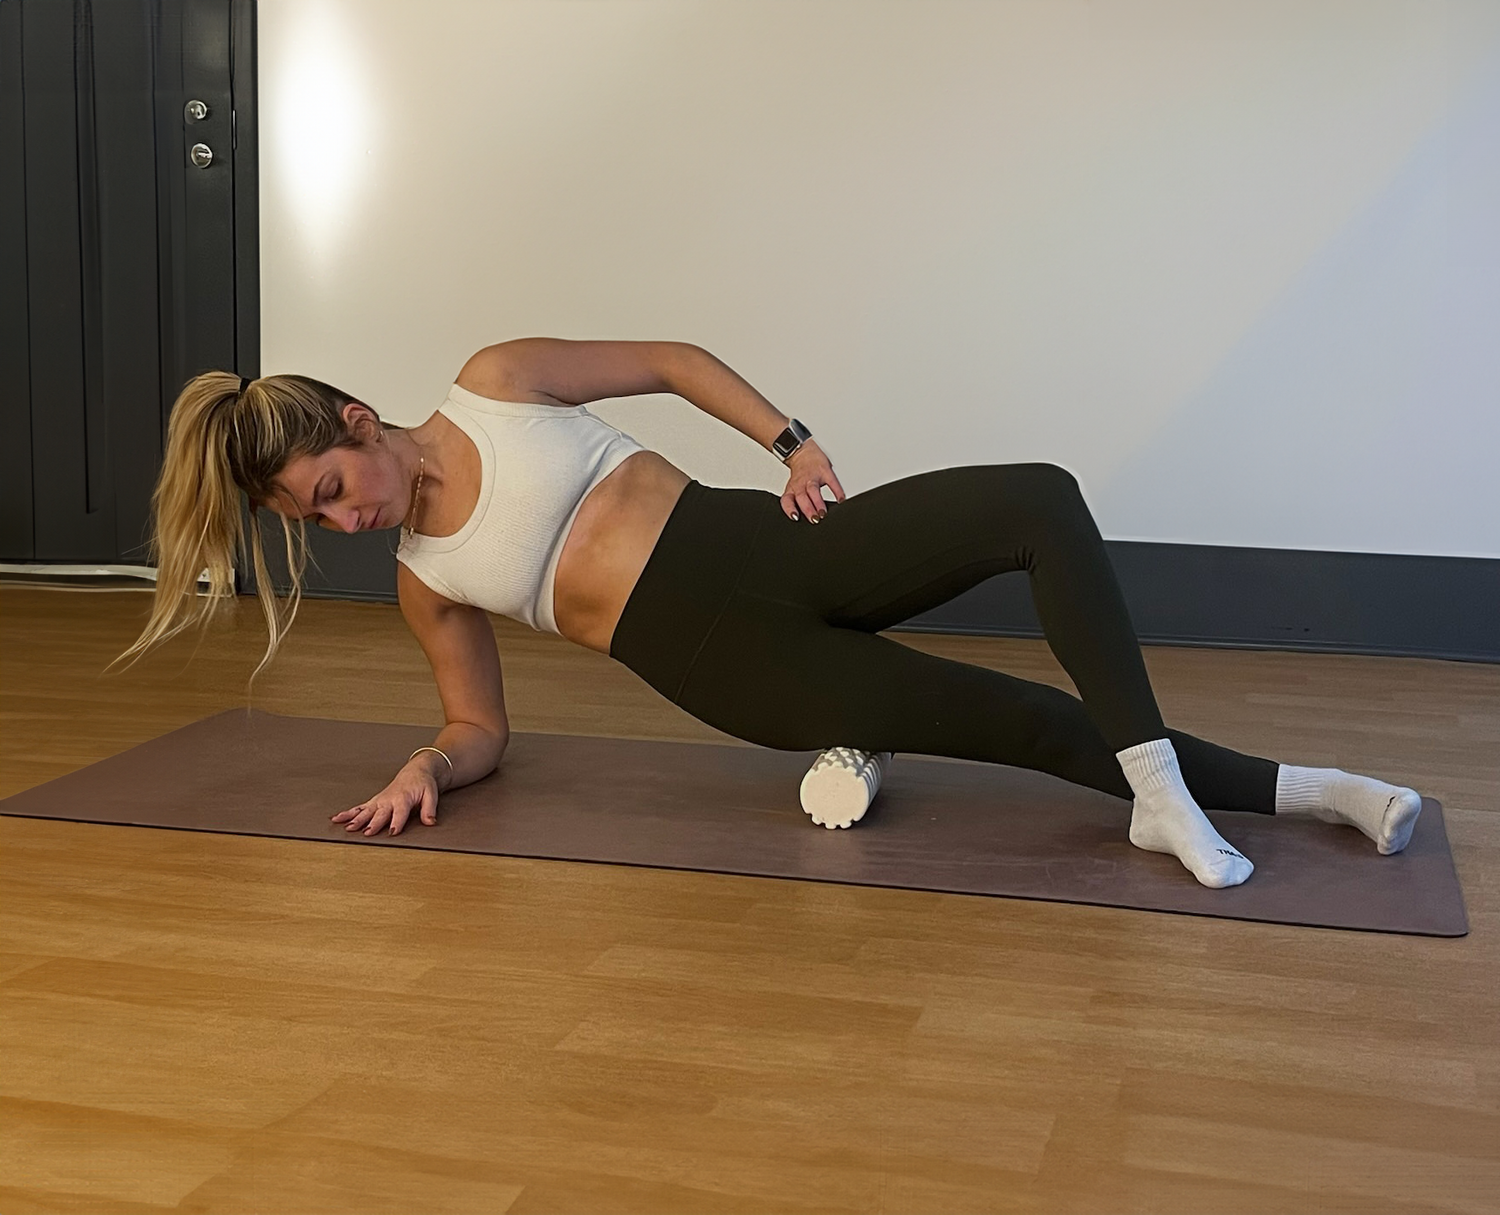
If you are a first time MIVA user, start by rolling on the PALM FACE of your bottle for a gentler massage, more experienced users can try the POLLEX FACES for a more intense roll
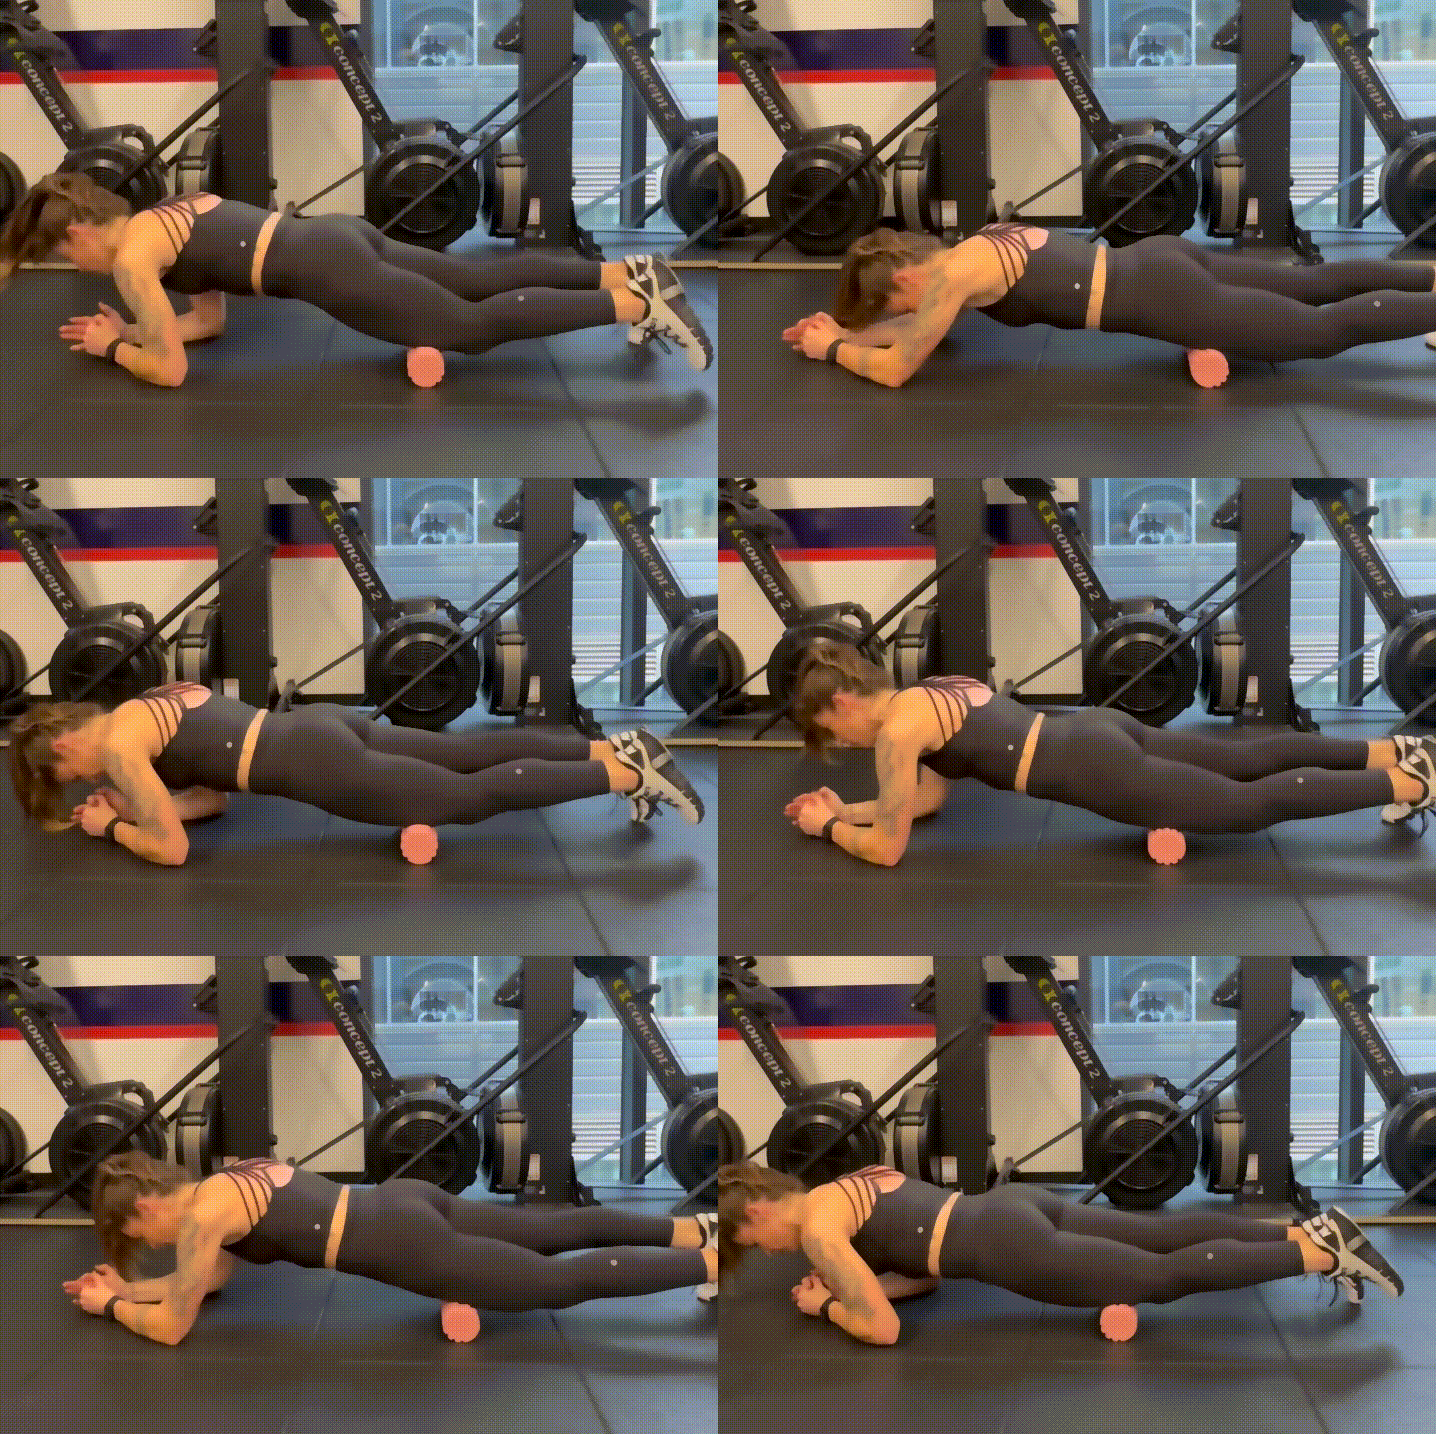
QUADS
- Start in a forearm plank position with your MIVA under your quads.
- Bracing yourself with your upper body and core, begin to slowly roll down your MIVA until it reaches just above your knees. Then, roll in the opposite direction until you reach your hip flexors.
- Do this for 30 seconds.
- When you hit a tender spot, hold yourself there for a few breaths.
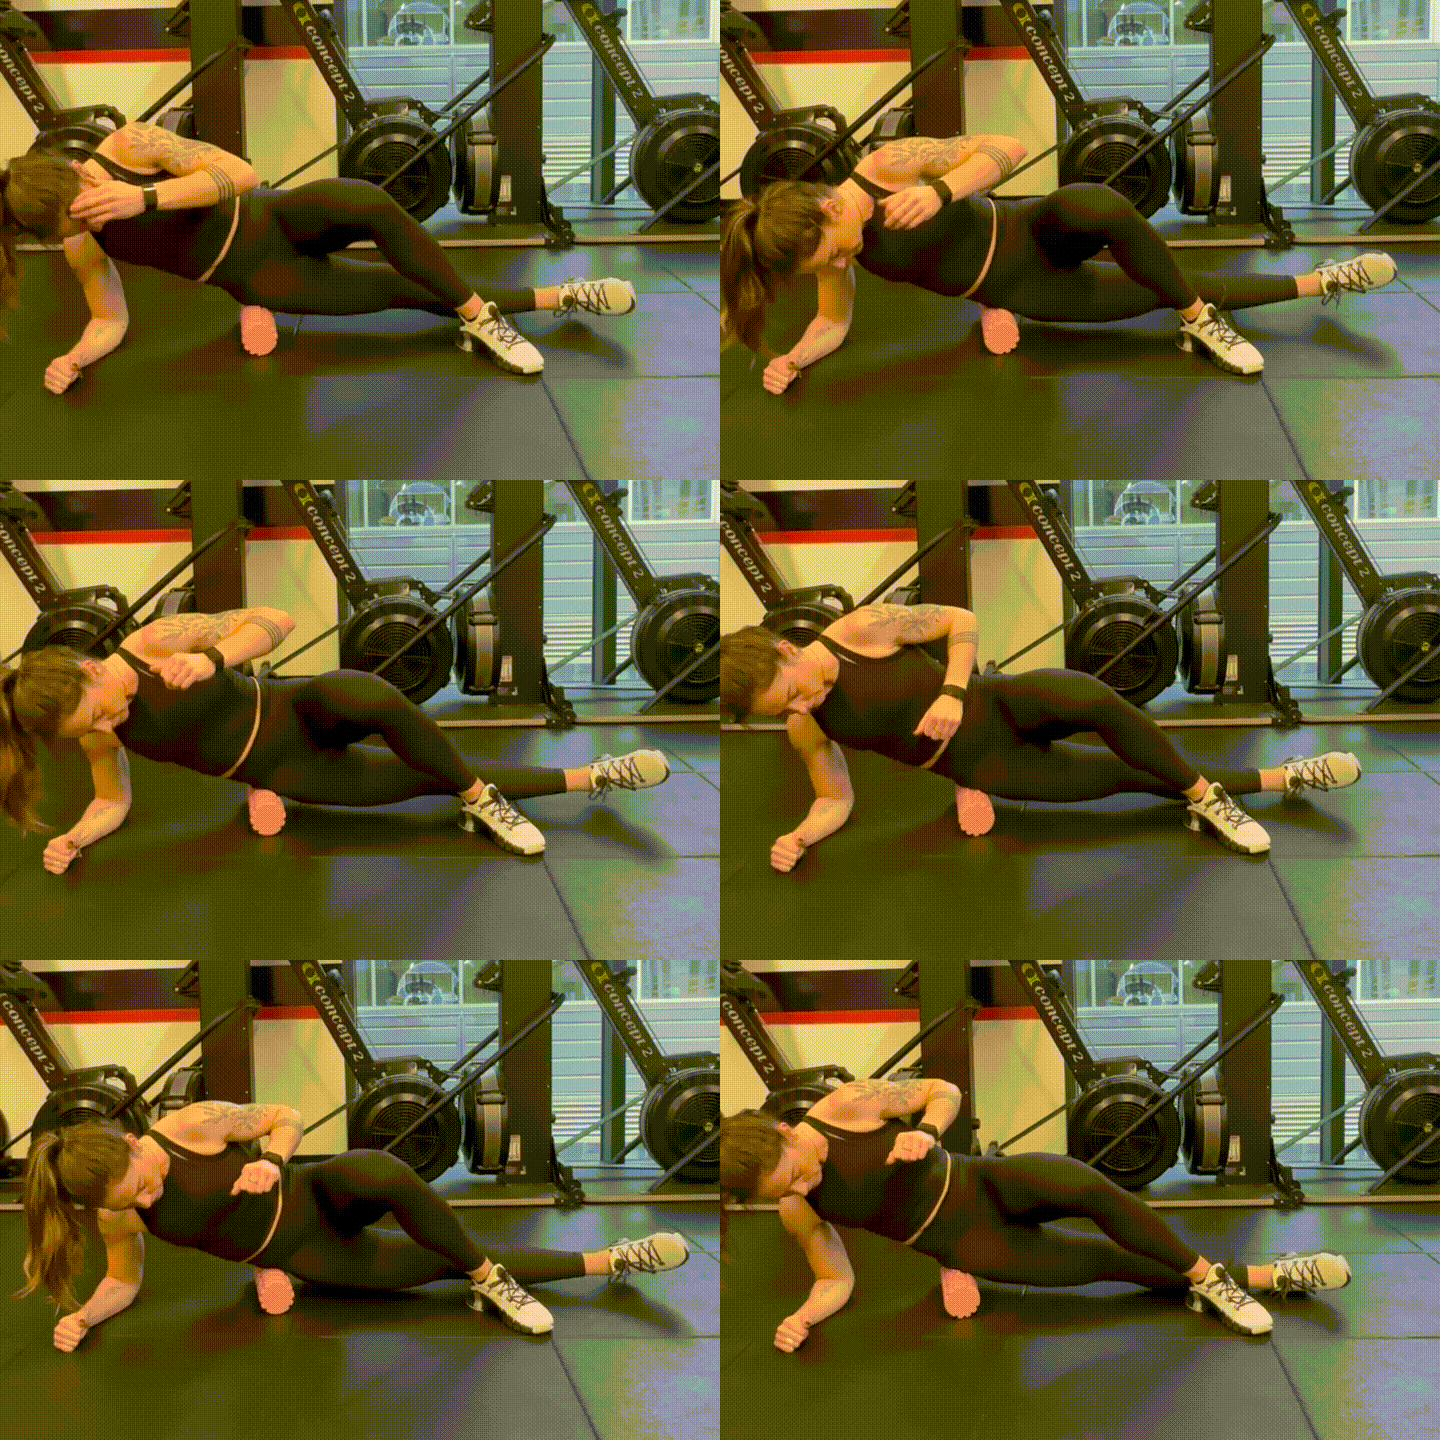
HIP FLEXORS
- Start by lying down, facing the floor on your MIVA, once again in a forearm plank position. Make sure your MIVA is underneath your left hip flexor and your right leg is bent comfortably to the side.
- Resting on your forearms, begin to roll slowly up and down and side to side on your MIVA to target the hip flexor, paying close attention to trigger points.
- Do this for 30 seconds.
- Switch and repeat on the right hip flexor.
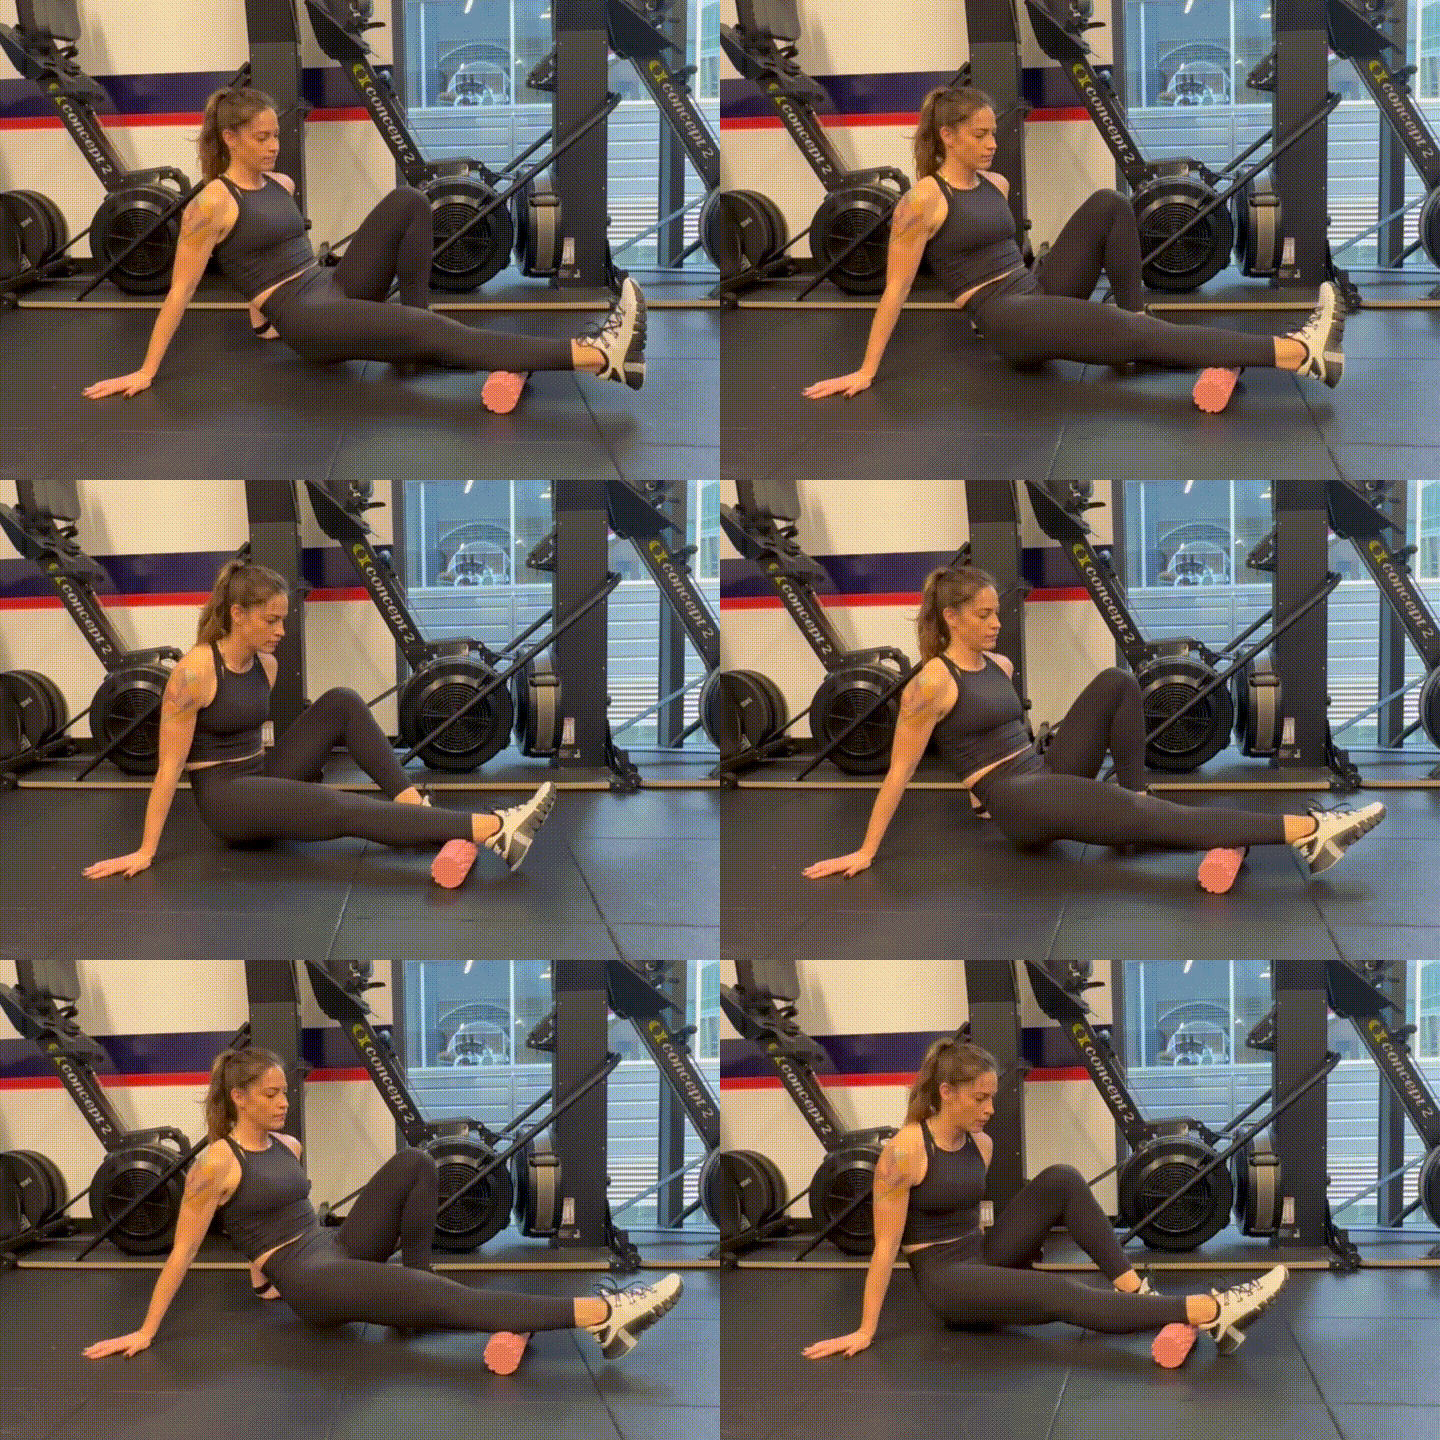
CALVES
- Start by sitting on the floor with your legs extended, your MIVA positioned underneath your calves.
- Lift your body up so your weight is resting on your MIVA. Cross your left leg over your right for extra pressure.
- Begin to slowly roll your right calf back and forth on your MIVA, navigating your body forward and back with your arms.
- Complete for 30 seconds.
- Switch legs and focus on your left calf.
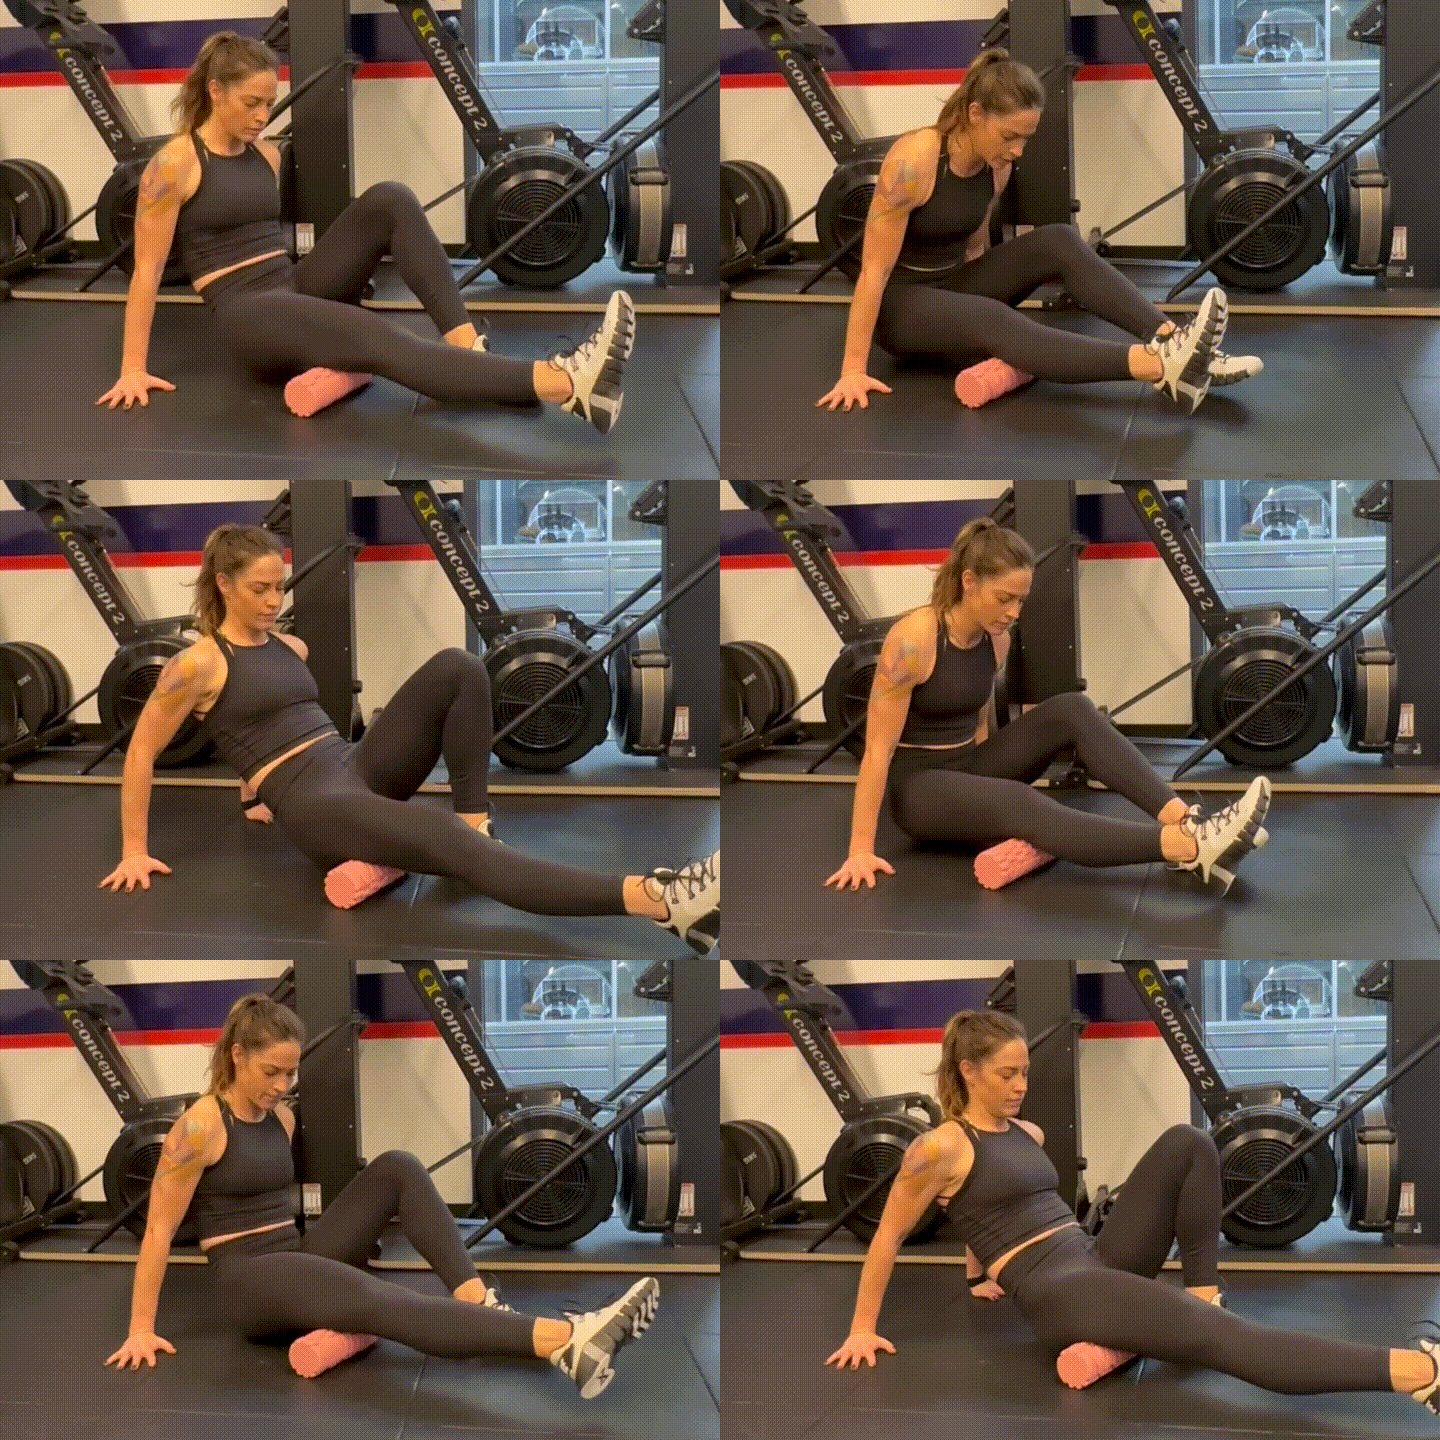
HAMSTRINGS
- Again, start by sitting on the floor with your legs extended. This time, position your MIVA underneath your hamstrings.
- Lift your body up so your weight is resting on your MIVA and begin to slowly roll up and down between the back of your knees and your glutes.
- Linger on tender spots, and roll for at least 30 seconds overall.
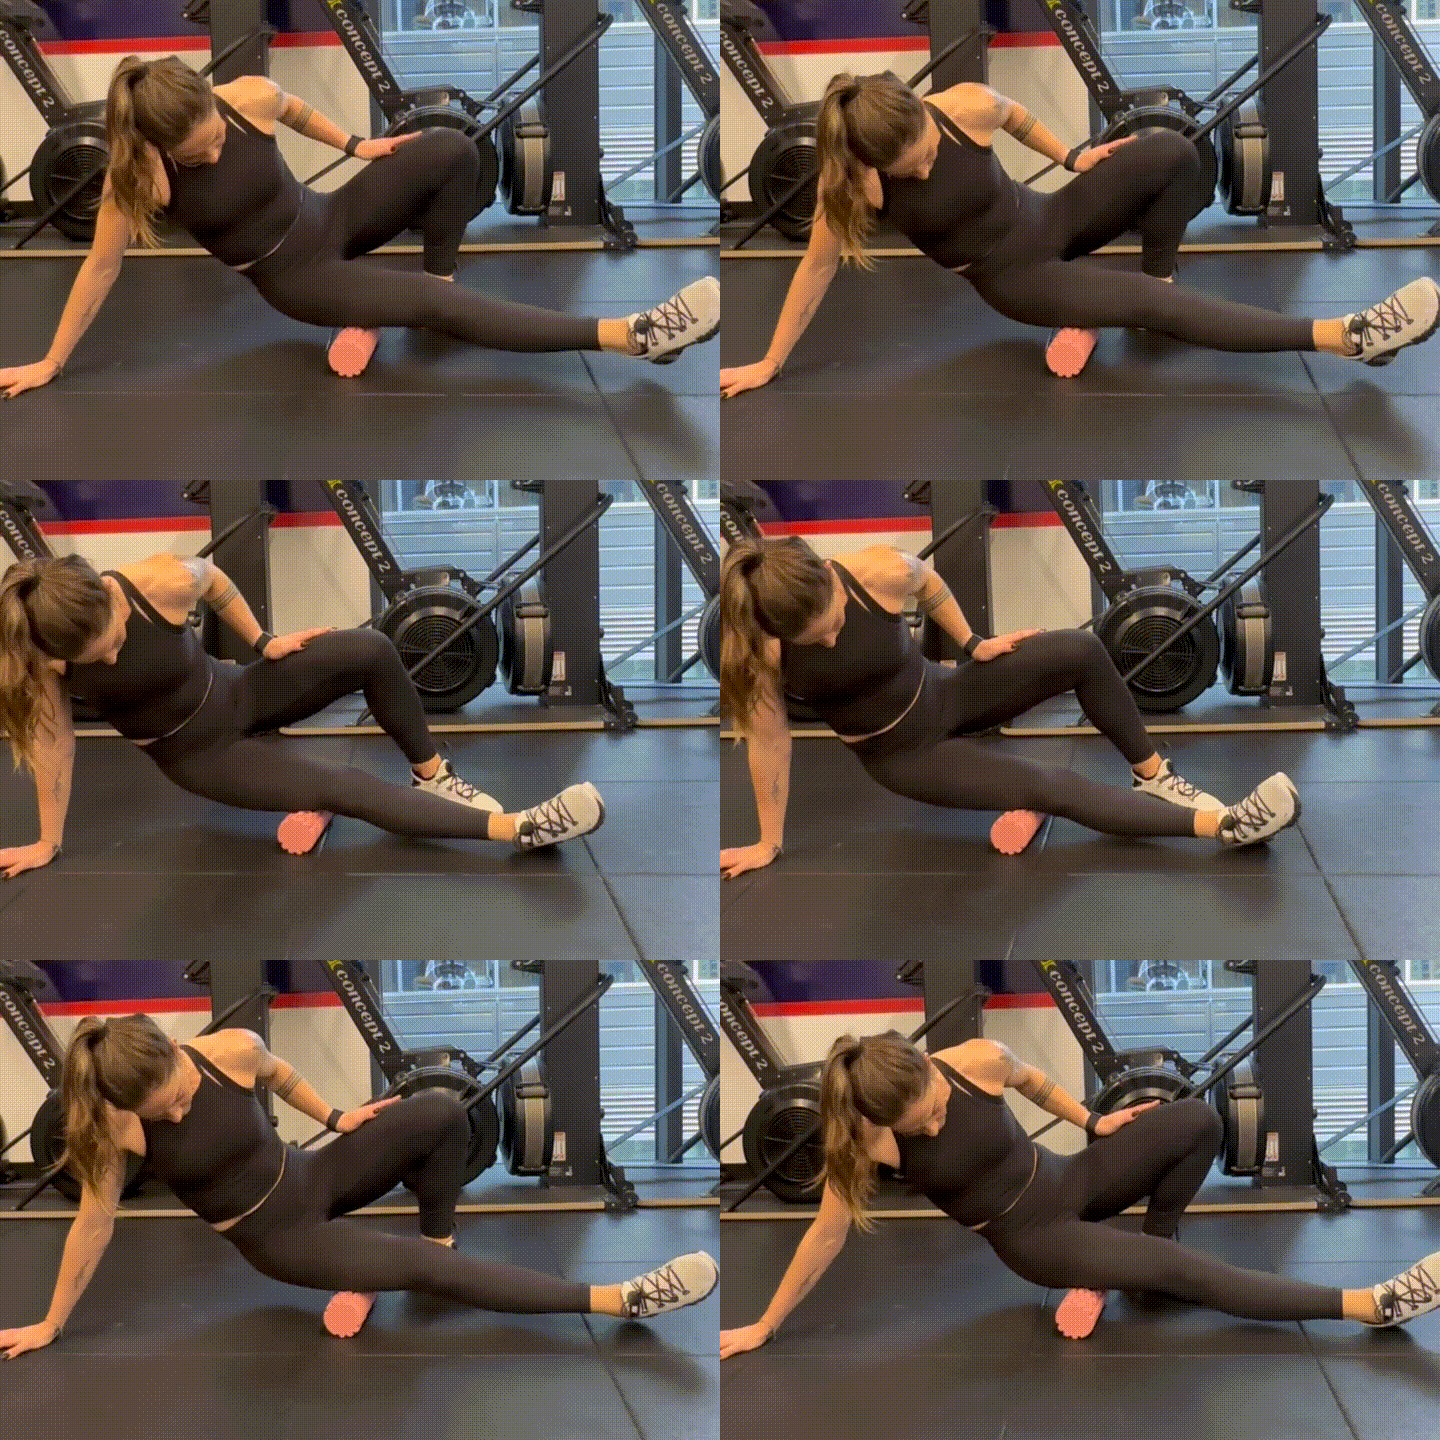
IT BAND
- Begin by lying on your right side with your MIVA positioned underneath your right IT band, or the side of your thigh. Rest your bodyweight on your right forearm. Your right leg should be straight, and your left should be bent at the knee with your foot placed comfortably in front of your right leg.
- Bracing yourself with your upper body and left leg, begin to slowly roll along your MIVA on your right IT band between your knee and glute, stopping at tender spots.
- Repeat for 30 seconds, then switch to roll your left IT band.
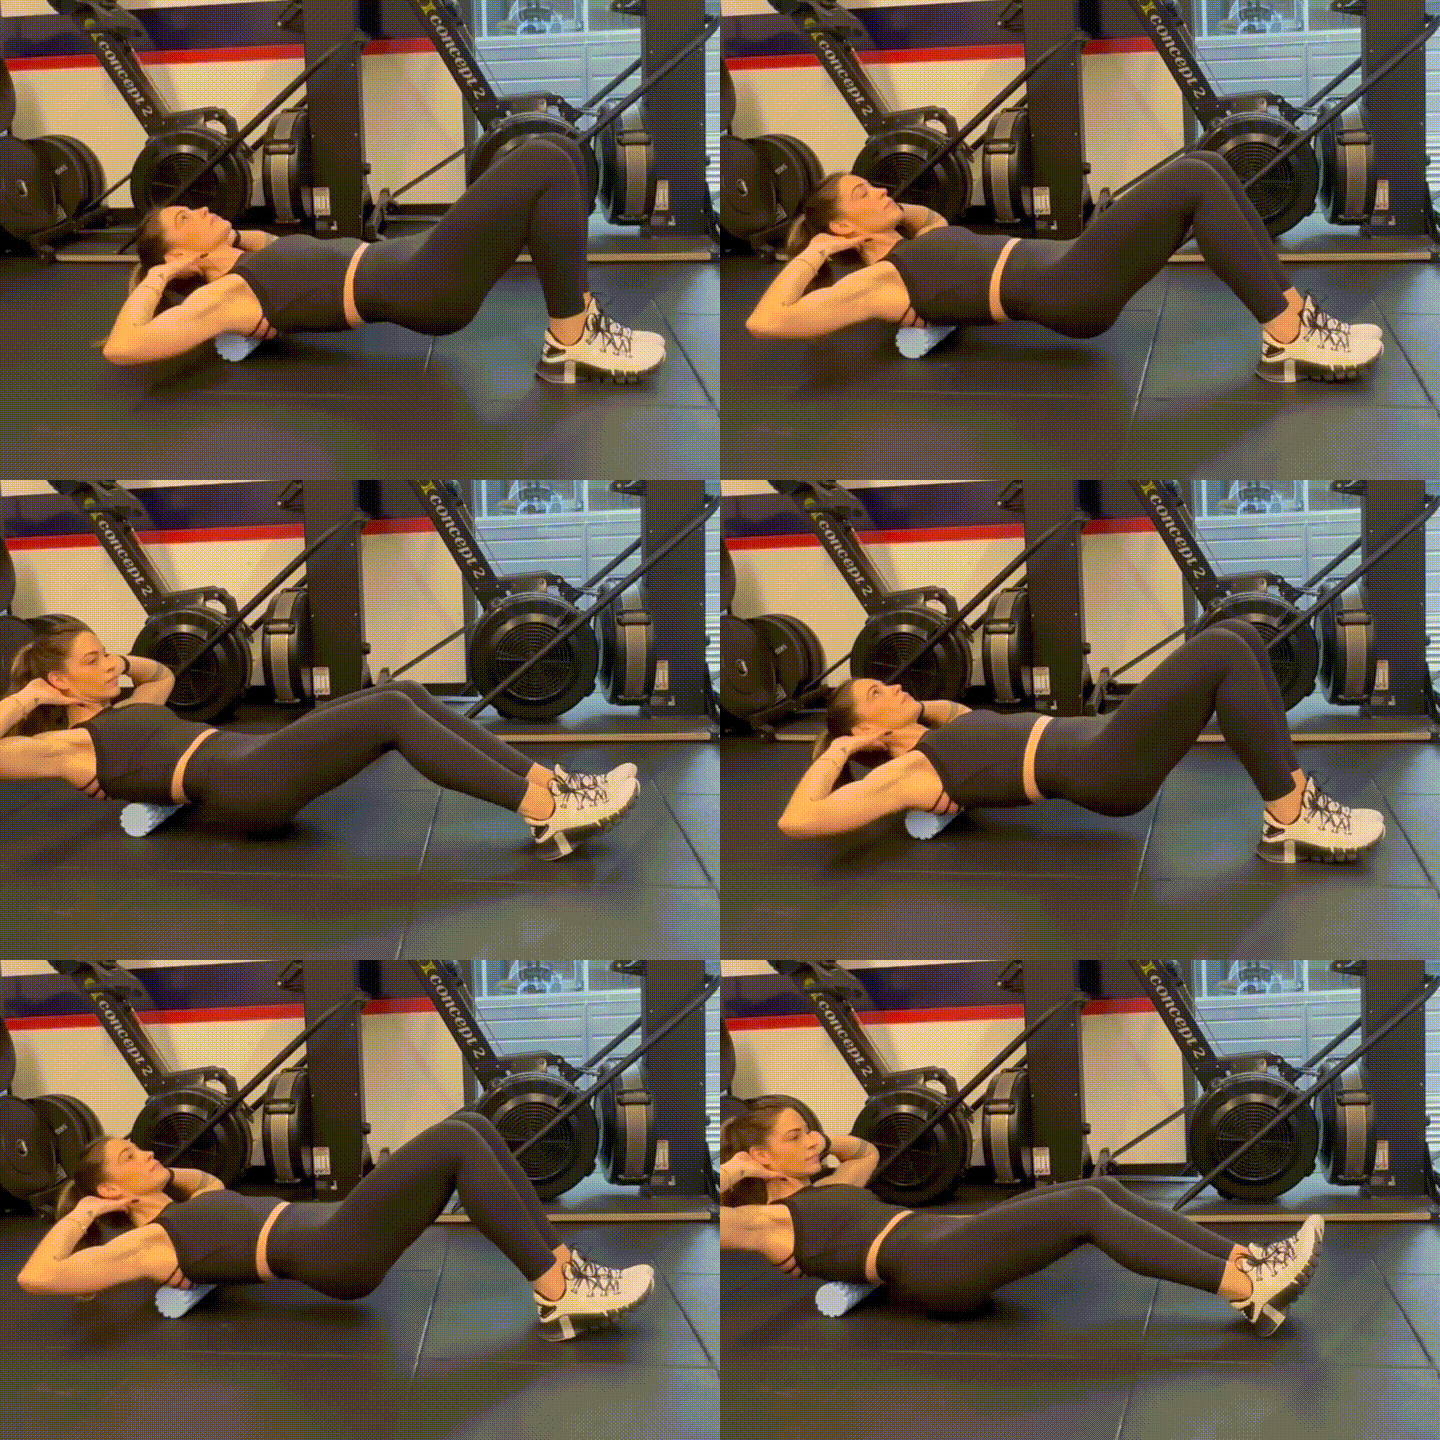
UPPER BACK
- Begin by lying on your back with your MIVA positioned underneath your upper back. Your knees should be bent with your feet flat on the floor and your arms can either be down by your sides or crossed in front of your chest.
- Brace your core and lift yourself up into a shallow bridge position.
- Slowly start to roll up and down between your lower neck and mid-back, stopping at tight areas along the way.
- Repeat for 30 seconds.
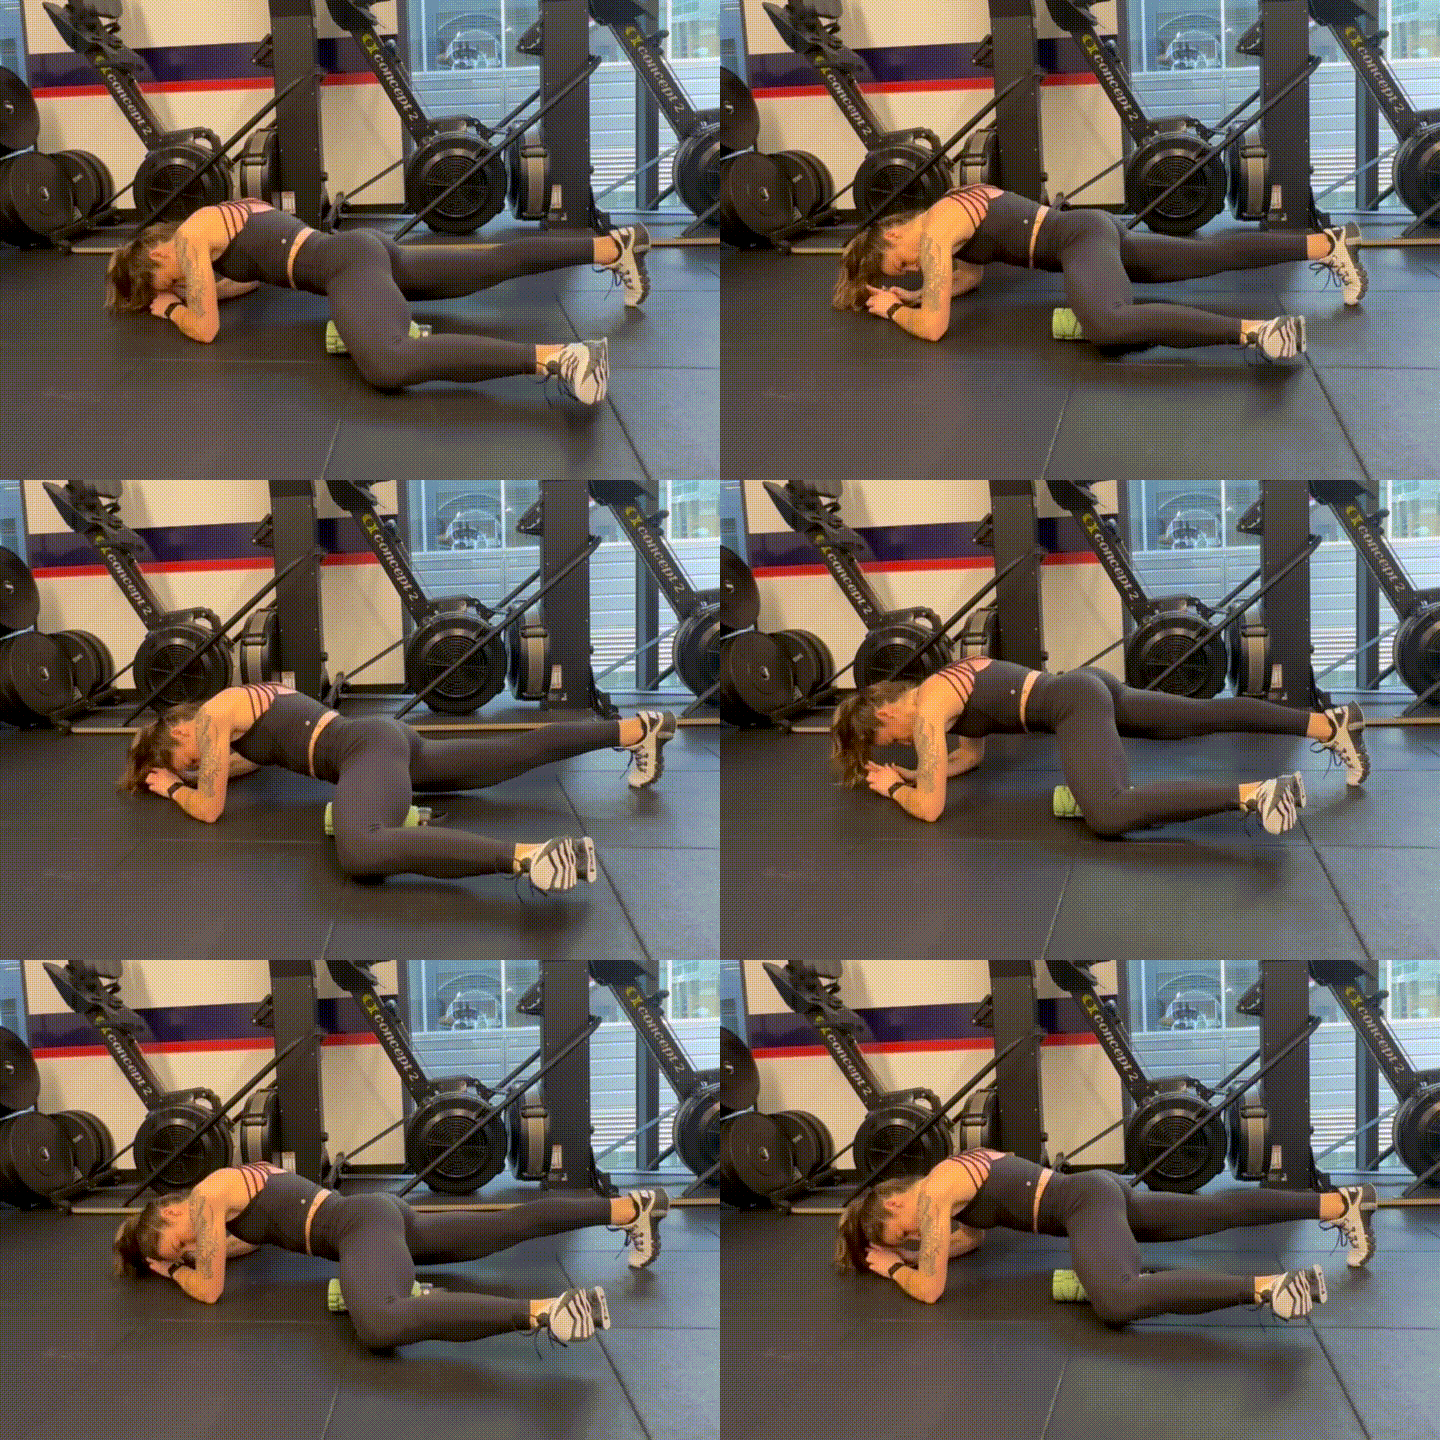
INNER THIGH
- Start in a forearm plank position with your MIVA under your inner thigh.
- Bracing yourself with your upper body and core, begin to slowly roll down your MIVA until it reaches just above your knees. Then, roll in the opposite direction until you reach your upper thigh.
- Do this for 30 seconds.
- When you hit a tender spot, hold yourself there for a few breaths.

